Contents
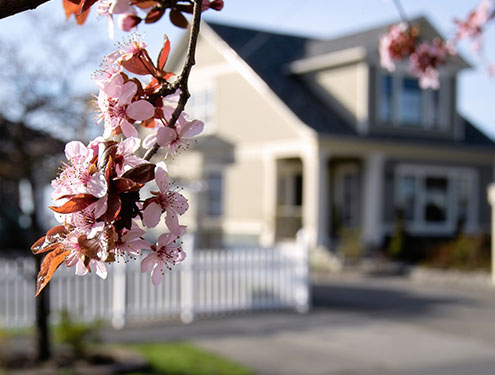
- 1 Applying stain increases the longevity and attractiveness of your wood fence.
- 1.1 Wood fences generally serve practical purposes to help keep children and pets in and to define property lines. Wood fences last for many years, but only if you care for them properly. Apply a quality stain to new fences to give your fence the best chance to resist the harmful effects of the sun, wind, rain and insects.
- 1.2
- 2 Does this Spark an idea?
- 3 Things You'll Need
- 4 
Wood cleaner
- 5 
Exterior wood stain
- 6 
Stain applicator
- 6.0.0.1 The Professionals at Hurricane Fence we know that ‘stick built’ wood fences are best!
- 6.0.0.2 Built piece-by-piece! No prefab panels. Only #2 pressure treated pinewood directly from the mill to solidify a high quality wood fence for our customers.
- 6.0.0.3 Our top-notch 4x4 post and 2x4 wooden rail system lets you rest assured that your backyard fence has the best structural support possible.
Applying stain increases the longevity and attractiveness of your wood fence.
Wood fences generally serve practical purposes to help keep children and pets in and to define property lines. Wood fences last for many years, but only if you care for them properly. Apply a quality stain to new fences to give your fence the best chance to resist the harmful effects of the sun, wind, rain and insects.

Does this Spark an idea?
Things You'll Need

Wood cleaner

Exterior wood stain

Stain applicator
Instructions
1. 
Examine the fence for structural and cosmetic defects. Repair holes. Replace broken boards. Pull or pound out loose nails and drive in new galvanized nails.


2
. Wash dirty or mildew covered fences. Allow the fence time to dry thoroughly.


3. Test the color of the stain on an inconspicuous place of the fence or on a scrap piece of wood made of the same species of wood.


4. 
Apply the stain with the grain of the wood, using your choice of a medium nap brush, sprayer, paint brush or foam applicator, noting that brushes work best on smaller projects. Reach the best results by using a combination of applicators to work the stain into all parts of the wood, including the sides of the boards, smoothly.


5. 
Press evenly with the applicator and work in small sections. Move quickly between sections to prevent the edge of one section from drying out before you begin working on the next section. Feather the edges of each section to blend the stain together across the entire fence.


Tips & Warnings

Pay attention to the type of wood used to make the fence; softer woods, such as pine, absorb stain faster, yet more unevenly than harder woods and may need more work to make the stain look even.

Choose among grades of transparencies for the stain depending on your desired result; use the most transparent to reveal the greatest natural wood detail and the most opaque to provide the greatest protection from ultraviolet rays.

Solid finishes last for more years between applications than do clear finishes. Expect to repeat the staining process at least once every three years to maintain the protection for your fence.

Read all labels to learn the limitations of the stain and how the manufacturer predicts how the stain will interact with your fence.
Originally Viewed On Ehow.com:
http://www.ehow.com/how_5224514_stain-wood-fence.html
By Lee Roberts, eHow Contributor