If you own a wooden fence, you know that it adds a beautiful, traditional touch to your property's aesthetics. However, as time goes on, the wooden fence can become weathered and lose its shine, leading to an unsightly appearance. Fortunately, there is a way to protect and rejuvenate your wooden fence, and that is through staining.
Staining your wooden fence can give it a new lease of life, adding more protection against the elements while restoring its beauty. Here is a step-by-step guide on how to stain your wooden fence.
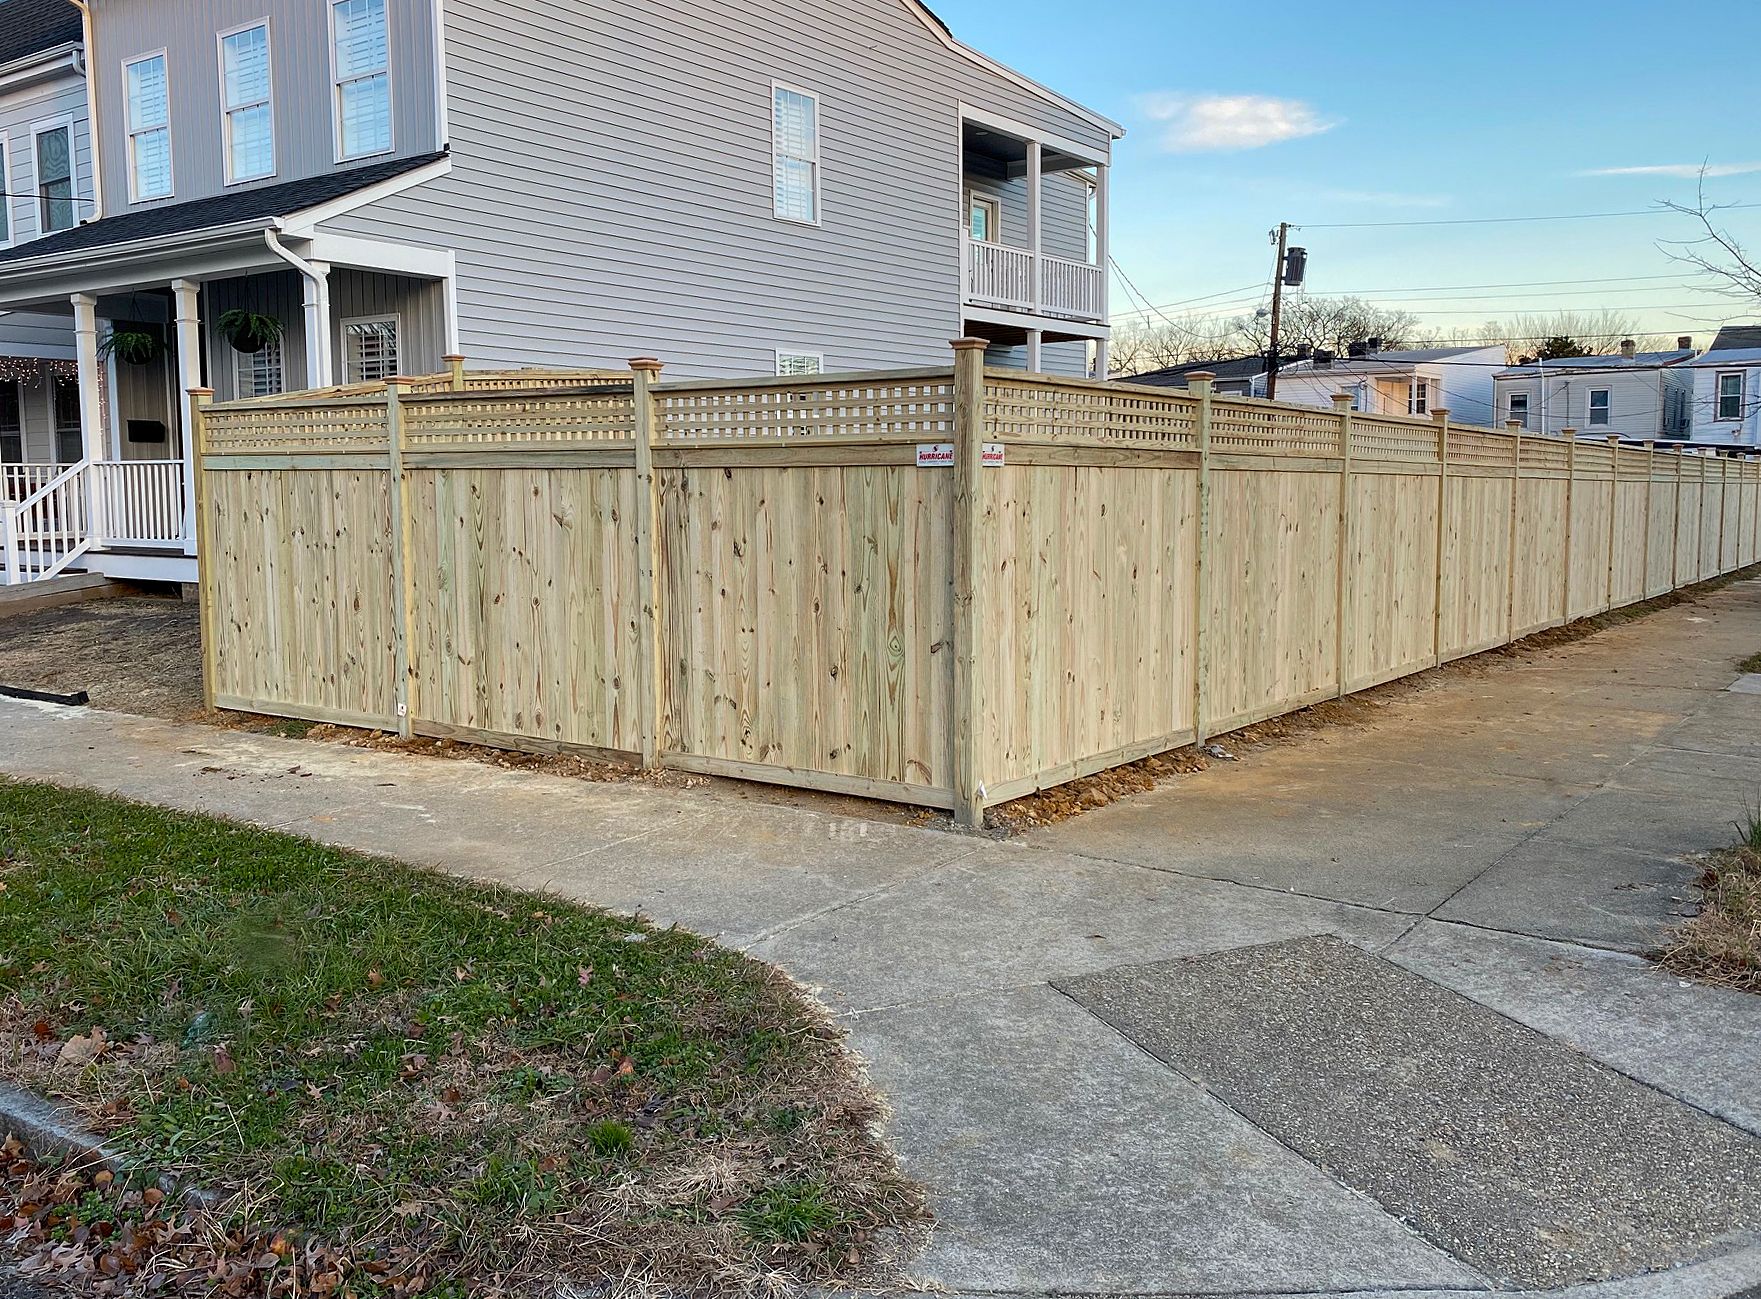
If your fence is damaged or needs replacing, give the experts at Hurricane Fence a call for your free estimate!
Contents
Preparation
Before you start staining your fence, you need to prepare the surface. Start by removing any dirt, dust, and debris on the fence using a power washer or a garden hose. Allow the fence to dry for at least 24 hours. If there is any mildew, use a solution of bleach and water to scrub it off.
After the fence is clean, inspect it for any damaged or loose boards, which will need to be repaired before you start staining.
Choose The Right Stain
Selecting the right stain for your wooden fence is crucial. You should choose a stain that complements the color of your home or other outdoor furniture. In our opinion, you can't go wrong with the more natural colors to further complement the grain & texture of the fence itself.
There are two types of stains: oil-based and water-based. Oil-based stains penetrate deeper into the wood, providing more protection, but they can take longer to dry. Water-based stains are easier to clean up, but they may not last as long as oil-based stains. Ask your local hardware store for recommendations based on your specific fence and needs.
Gather Your Tools
Once you have selected the right stain, gather all the necessary tools to apply it to the fence. You will need a paintbrush, a roller or sprayer, painter's tape, drop cloths, and safety equipment like gloves and goggles.
Apply The Stain
Start by applying the stain to the back of the fence, working your way from the top to the bottom. Use a paintbrush or a sprayer to apply the stain, depending on your preference. Use painter's tape to cover any areas you don't want to be stained, such as metal fittings or gate hardware. Apply the stain evenly and consistently, and avoid over-applying it, as this can lead to a blotchy or uneven finish. Allow the stain to dry for at least 24 hours before applying a second coat (which you should be planning on doing).
Clean Up
Once you have finished staining your wooden fence, clean up any excess stain or drips immediately. Use a clean cloth or a scraper to remove any excess stain. Dispose of any drop cloths and other materials according to your local regulations. Clean your tools thoroughly with water or solvent, depending on the type of stain used.
Like New!
Staining your wooden fence is a great way to protect and rejuvenate it. It can also add value to your property by increasing its curb appeal. Following the steps above will help you achieve a beautiful and long-lasting finish on your fence.
Remember to choose the right stain, gather your tools, apply the stain evenly, and clean up properly. With these tips, you'll have a stunning and protected fence for years to come!
Looking for a beautiful wooden fence to complement your outdoor space? Contact Hurricane Fence today at 804-353-6030 for your free quote!